


I love getting a monthly facial—it’s an excellent way to care for your skin and unwind.
But let’s be honest—facials can be pricey, and finding a spa that uses only natural, chemical-free products can feel like diving into a rabbit hole. If you're lucky enough to afford it and locate a place that aligns with your values, by all means, treat yourself! But for those who want to enjoy the luxury of a facial at home, with complete control over the products you use, this blog is for you.
Before You Begin
Facials aren’t just about glowing skin; they’re also about relaxation. One study conducted with 32 women showed that facials activated their parasympathetic nervous systems, reducing psychological distress. Stress, as we know, profoundly impacts skin health, influencing hormones, immune responses, and factors like sebum production, inflammation, and collagen breakdown. That’s why the first step to any facial is setting the stage for deep relaxation. Create a calming environment where you can be fully present—light some beeswax candles, play the soothing sounds of nature, and let an aromatic herbal potpourri fill your space with joy. This is your moment to nurture both skin and soul.
Holistic Facial Steps
Step 1: Cleanse
The first step to any great facial is cleansing—removing dirt, oil, and impurities to give your skin a fresh start. If you already have a cleanser that works for your skin, feel free to stick with it. Otherwise, here are a few natural options based on your skin type:
-
Oily Skin: Try a clay-based cleanser, mixing equal parts clay (such as bentonite or kaolin) with water. The clay will help remove excess oil and impurities without overdrying your skin.
-
Dry Skin: Opt for a honey cleanser. Honey is deeply moisturizing and naturally antibacterial. Mix just enough water with the honey to make it easy to apply.
-
Normal/Combination Skin: You have several options! For a gentle cleanse, use a clay or honey cleanser, apple cider vinegar diluted with water, a blend of honey and lemon, or plain water.
Regardless of the cleanser you choose, the method remains the same: gently massage the cleanser into your skin in circular motions, rinse with lukewarm water, and pat your skin dry with a soft towel.
Looking for a good natural cleanser to use every day? Check out our Papaya and Pineapple Powdered Cleasner!
Step 2: Exfoliate
Now, it’s time to go deeper, clearing your pores and removing dead skin. This step is essential for sweeping away buildup and ensuring your skin is primed to absorb the next steps. The key consideration here is not necessarily the type of exfoliant you use but how often you exfoliate based on your skin type. Oily skin can handle more frequent exfoliation, while dry skin requires a gentler approach.
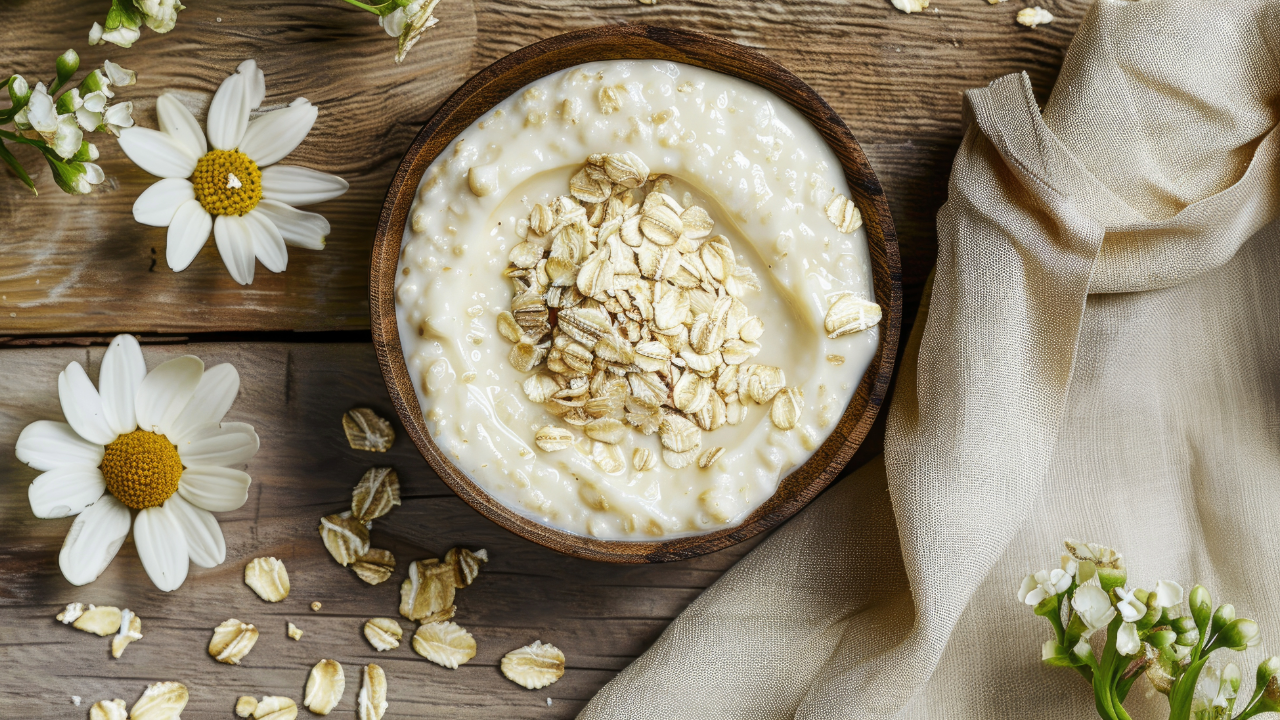
You can use salt, oats, or sugar for a simple, natural exfoliant. Salt and sugar are coarser and more suitable for oily skin. Mix them with honey or oil in equal parts, then gently massage them onto the skin. Oats, being gentler, are ideal for dry skin. Grind them into a fine powder and mix with water, honey, or oil to create a paste, then softly rub it onto the face. After exfoliating, use a warm, damp cloth to remove the mixture, leaving your skin refreshed and smooth.
Step 3: Steam
Now that we've removed dirt, excess oil, and dead skin, it's time to open up those pores and deeply hydrate the skin. Warm steam also boosts circulation to the face and supports lymphatic drainage—essentially, it creates a mini sauna for your skin! While steaming can be done with just water, adding herbs elevates the experience with additional skin benefits. I’ll provide herb options and their benefits at the end of this section!
Materials Needed:
-
5 cups filtered or spring water
-
Pot & large heat-safe bowl (optional)
-
5-6 Tbsp herbs of choice (optional)
-
Towel
How to Do a Steam:
-
Bring 5 cups of water to a boil.
-
Turn off the heat and add 5-6 Tbsp of your chosen herbs, fresh or dried.
-
Stir and cover the pot, allowing the herbs to steep for 10 minutes.
-
Transfer the herbal water to a large bowl, or move the pot off the burner to a heat-safe surface.
-
Drape a towel over your head, forming a “tent” over the bowl to trap the steam (leave a small opening if it's too hot).
-
Close your eyes and let the steam rise to your face for 5-10 minutes.
-
Remove the towel and breathe deeply, feeling refreshed.
Best Herbs for Steaming:
-
Rose: Tonifying, sensual, uplifting—perfect for dry skin.
-
Calendula: Anti-inflammatory and soothing for dry, irritated skin.
-
Comfrey: Moisturizing and restorative, especially for damaged skin.
-
Chamomile: Calming and anti-inflammatory, suitable for all skin types.
-
Rosemary: Revitalizing, uplifting, and astringent—great for toning.
-
Red Raspberry Leaf: Astringent, ideal for oily skin.
-
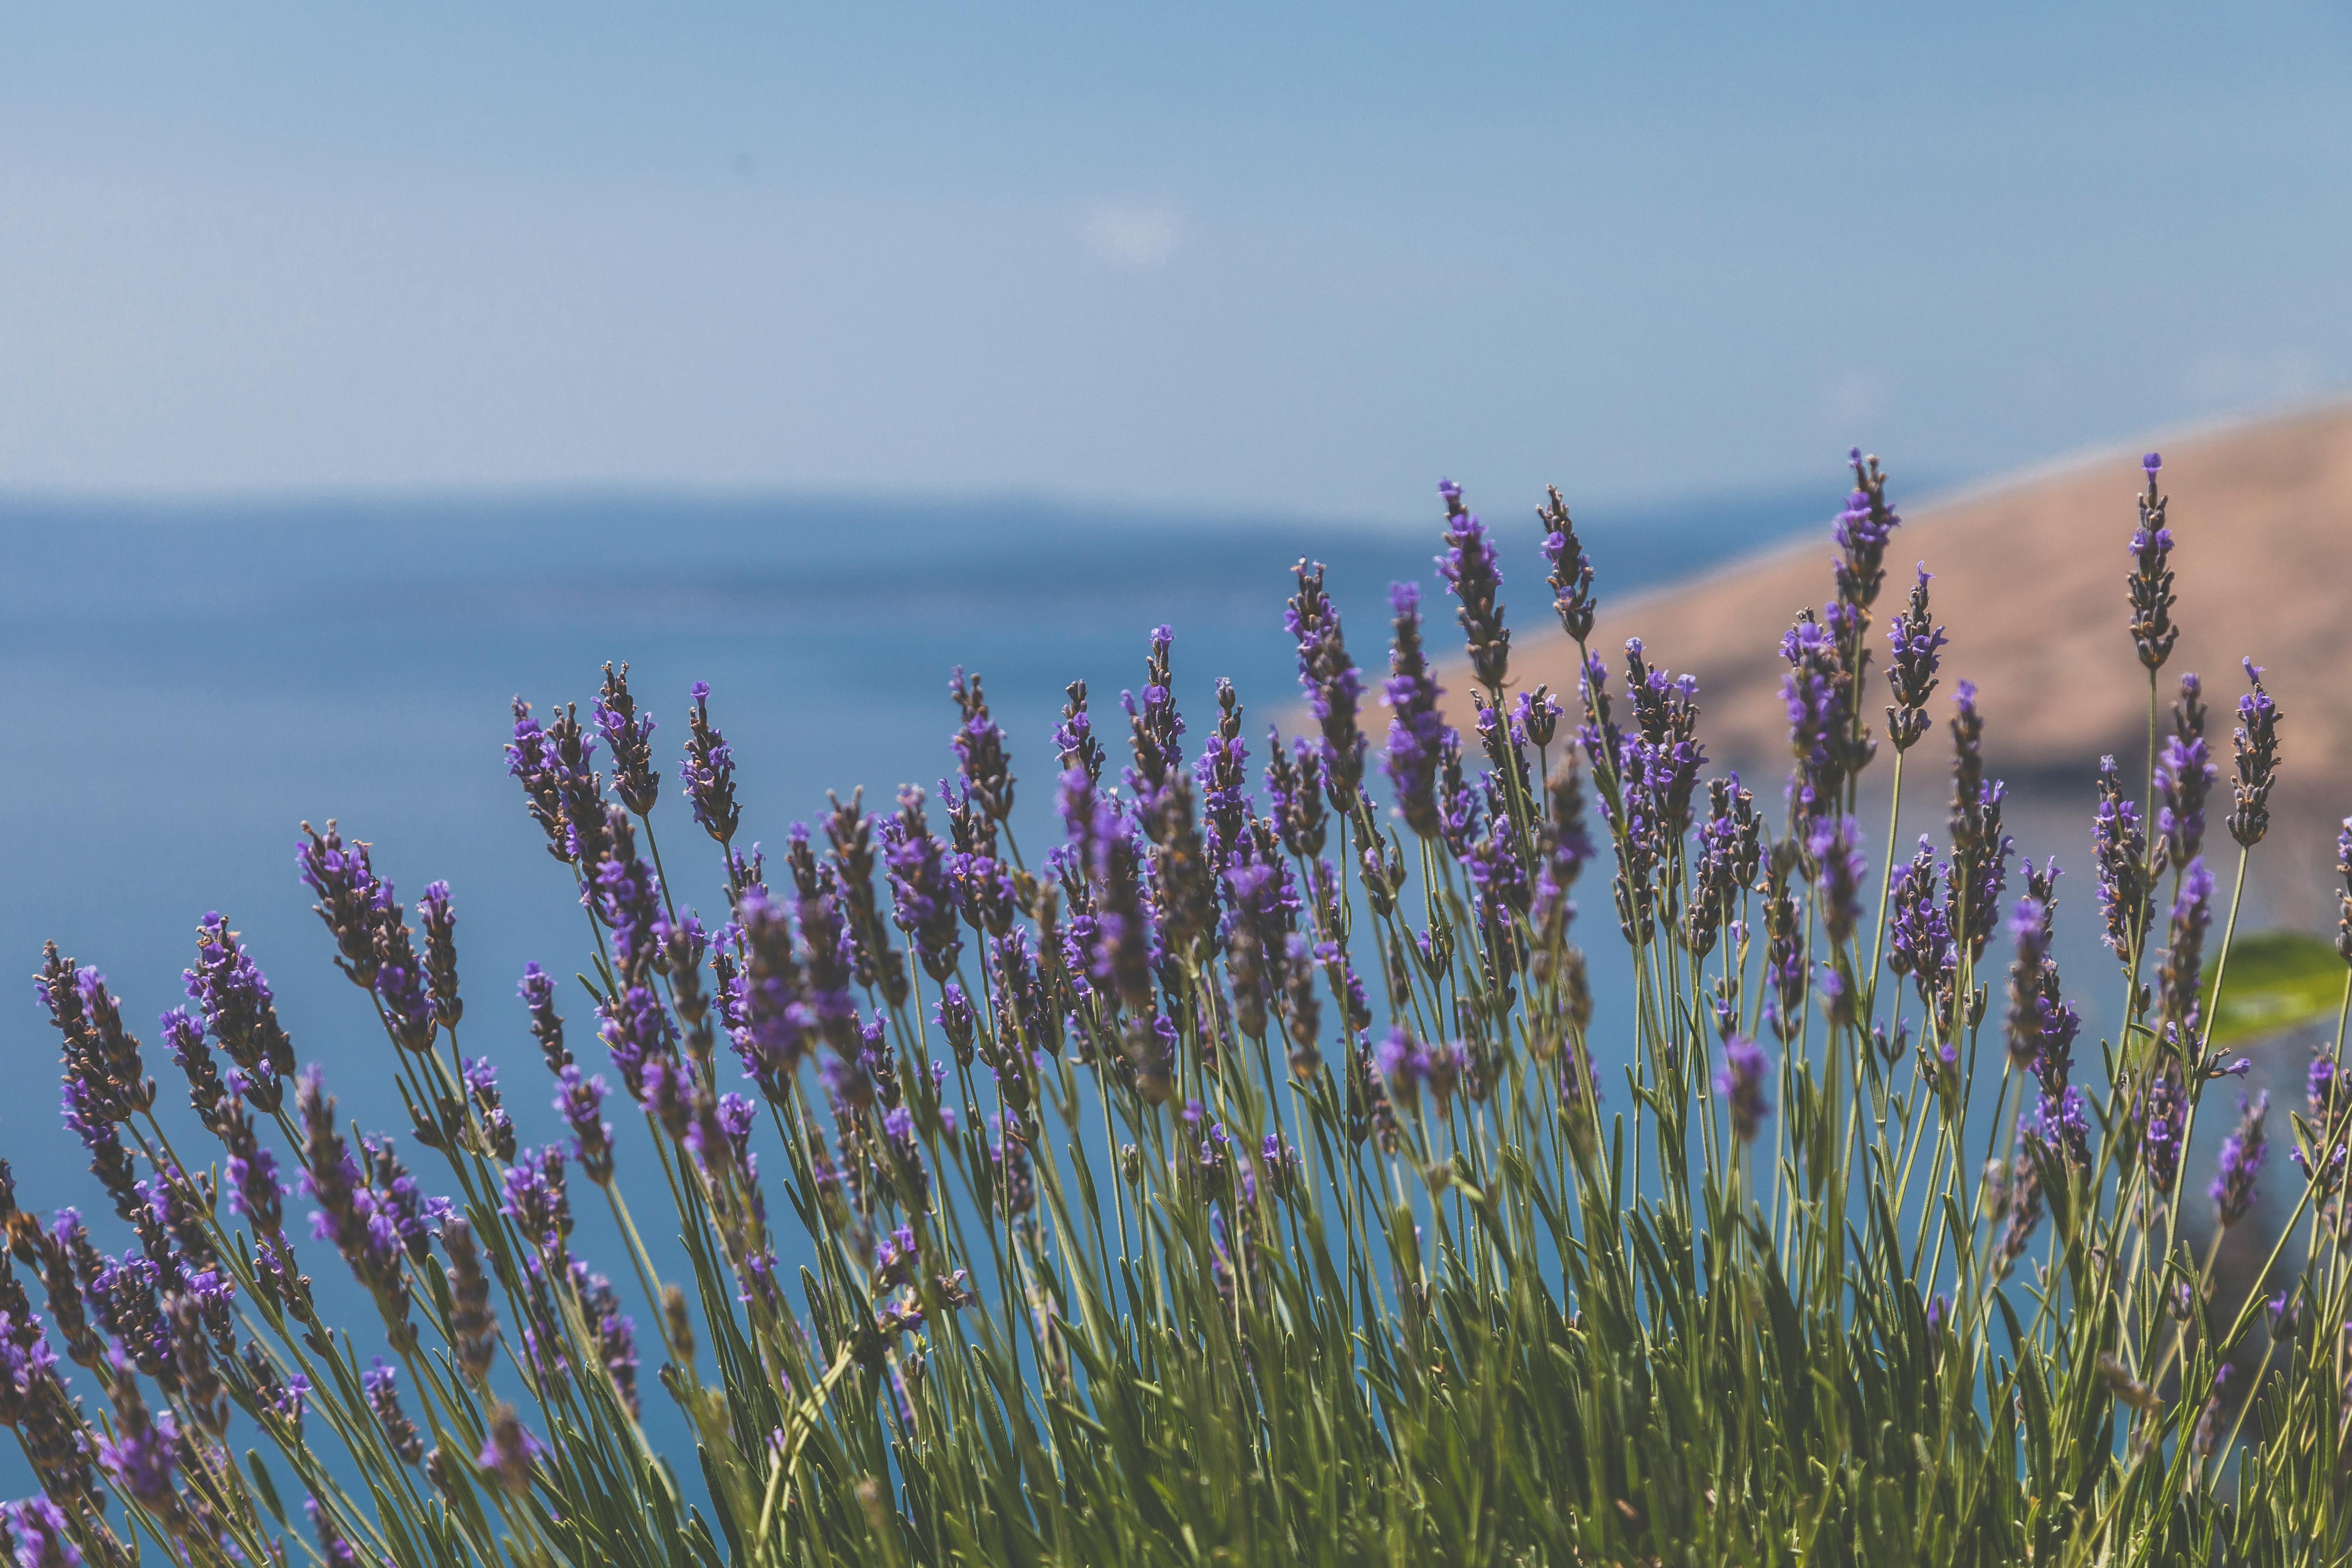
Lavender: Calming, anti-inflammatory, and cooling for hot or irritated skin
Enjoy the nourishing power of steam, and let the herbs work their magic while you relax!
Step 4: Massage
Now that your face is warmed up and your pores are open, it's the perfect time for a gentle facial massage to encourage circulation and drainage. Before you begin, make sure to wash your hands thoroughly. There are several techniques to choose from, such as circular motions or gently kneading with your knuckles. I recommend tuning into your intuition and focusing on what feels good for you, giving extra attention to areas that need it.
Step 5: Clay Face Mask
No facial is complete without a clay mask! This step helps seal all the previous steps' benefits and provides a final cleanse, delivering a nourishing boost of minerals to your skin. The key is choosing the right clay for your skin type:
Kaolin Clay is one of the gentlest clays, making it great for sensitive skin and suitable for most skin types. It is less drying than others, but another might be a better option if you have super oily skin.
French Green Clay- It's a powerful exfoliant and absorbent that is ideal for oily skin.
Bentonite Clay is a drying clay that draws out impurities and is often used for acne. It reduces inflammation and balances the skin's texture. It is best for standard skin types.
Rhassoul Clay is best for normal-oily skin types. It contains higher amounts of silica than any other clay, soothing and brightening the skin.
Fuller Earth Clay is the most absorbent clay. It can be mixed with other clays to remove impurities or used alone for oily skin. However, I recommend only using it occasionally due to its drying nature.
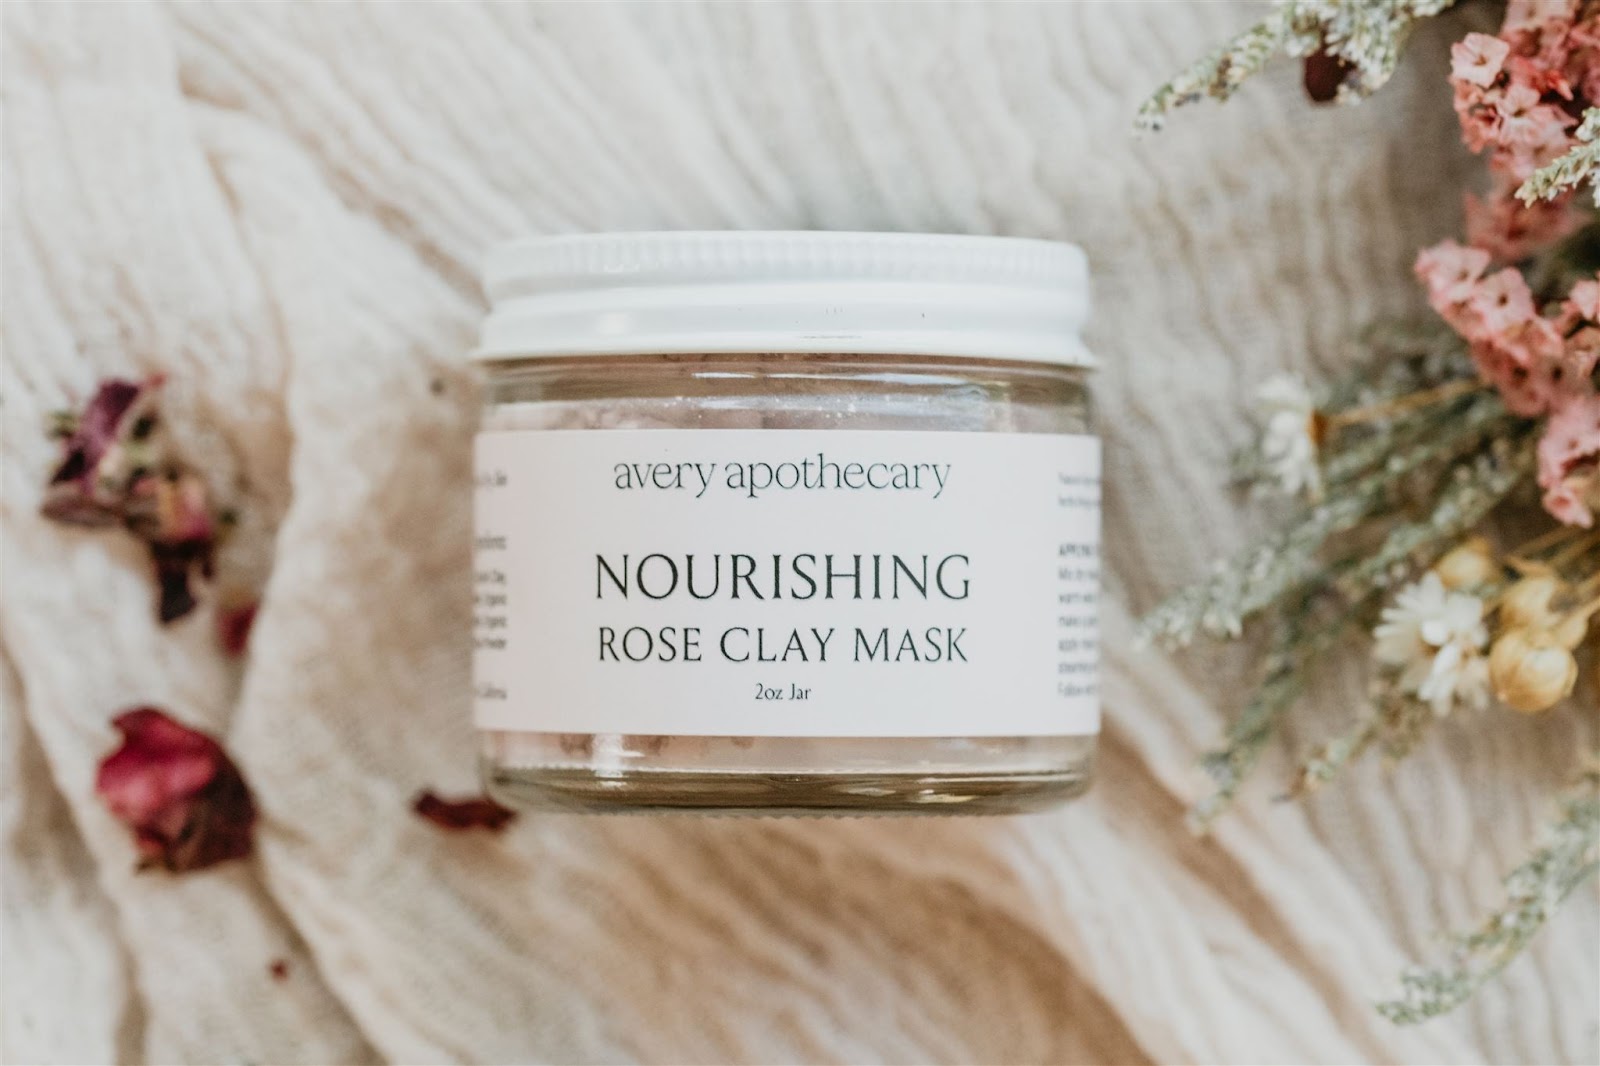
Once you have found the clay for you, just add water using about ½ tbsp of clay to 1 tablespoon of water and apply it, or for added moisturize and benefit,s add in honey, herbal powders, avocado, apple cider vinegar, or aloe. Once it's applied, let it sit for 10 minutes or til it’sdryr,y and use lukewarm water to rub it off. If you want an already-to-goo clay mask for your facial, check out our two face masks: Nourishing Rose Clay Mask and Purifying Green Clay Mask.
Step 6: Tone
These next two steps are essential and likely part of your daily skincare routine! After all our loving work, it's important to close those pores, cool the skin, and reduce any redness. The best toners for this purpose are rose hydrosol and witch hazel.
Be cautious when purchasing witch hazel; many brands dilute it with more alcohol than actual witch hazel extract. A reliable source is Mountain Rose Herbs. My favorite method for applying toner is to mist it directly onto the face for a refreshing experience. Alternatively, you can gently use an unbleached cotton ball or pad to pat it onto your skin.
Step 7: Moisturize
Lastly, apply your favorite moisturizer to your skin, savoring the feeling of your renewed complexion! If you don’t have a go-to face moisturizer yet, consider using aloe vera, shea butter, coconut oil, rosehip oil, tallow, jojoba oil, or even yogurt—going back to basics can work wonders!
You can also create your face cream by blending water and oils. Here’s a famous recipe for face cream by Rosemary Gladstar!
No matter your goal for doing a facial—whether it's reducing dark spots, clearing pesky acne, or shrinking your pores—everyone can benefit from nurturing their skin health and calming their nervous system through facials!


Leave a comment